Pinhole photography is perhaps the most basic form of photography. Essentially, all that is required is a light proof box, with a tiny hole on one side and some photographic paper, or film, on the opposite side. Light enters through the pinhole and an inverted image is projected onto the film.

The photographer controls the amount of time that the film is exposed to light by revealing and covering the pinhole, much like one would do with a shutter speed dial on a conventional camera. Generally speaking, the smaller the pinhole is, the sharper the images become. With an average diameter of .2 of a millimetre, and an aperture of f125, the pinhole camera calls for some lengthy exposure times.
The fact that a photograph can be produced without any electronics or even a lens is something that fascinates me. As a child on a school trip abroad I bought a DIY pinhole camera, complete with developing chemicals and trays. The camera itself comprised of a small cardboard box with a simple shutter on the front. Admittedly, the results were far from great, but it was a fun experience and a memory that has always stayed with me. I recently purchased a more sophisticated and robust pinhole camera. Beautifully crafted from walnut wood, it can use both 120 and 35mm film, and it’s this camera that has reignited my interest in pinhole photography.

The experience of shooting pinhole is like no other type of photography. There is no viewfinder to compose your image. There is no light meter to gauge the required exposure time. And therein lies its beauty – the lack of control adds an element of mystery and surprise.
I used an analogue, handheld light meter to read the scene, at f22. I then converted my exposure time using from f22 to f125 using a simple chart. My exposure times generally ran from approximately 3 seconds to 1 minute. I also attempted double exposures, with pleasing results. Because of these times, to ensure a sharp image the use of a tripod is essential. However I am aware of some photographer’s hand holding their pinholes cameras, achieving an altogether different aesthetic. Compositionally, often it’s a case of trial by error in framing your scene as you intended, however there are often some rudimentary aids, such as engravings and spirit levels to aid the shooter.

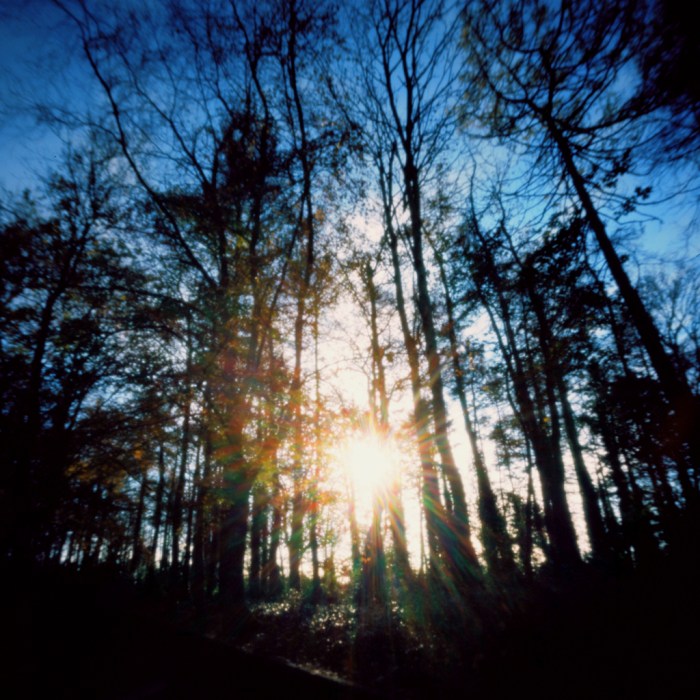
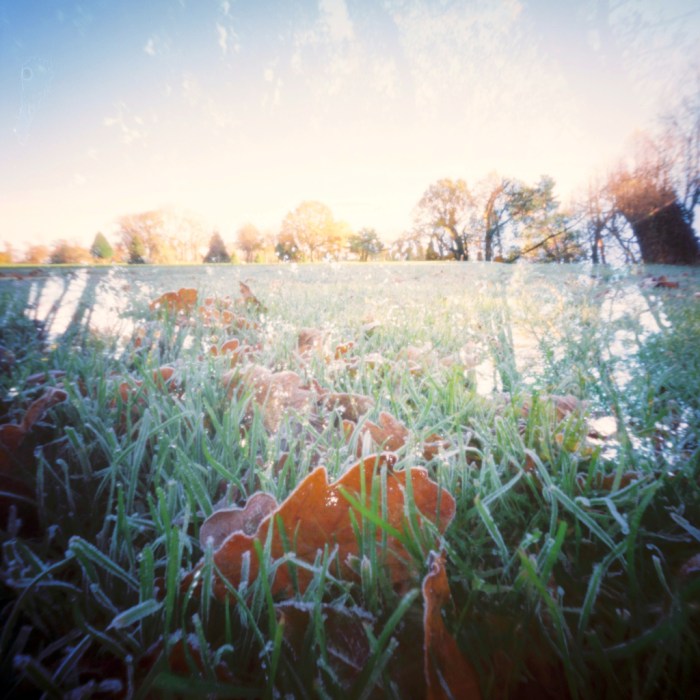
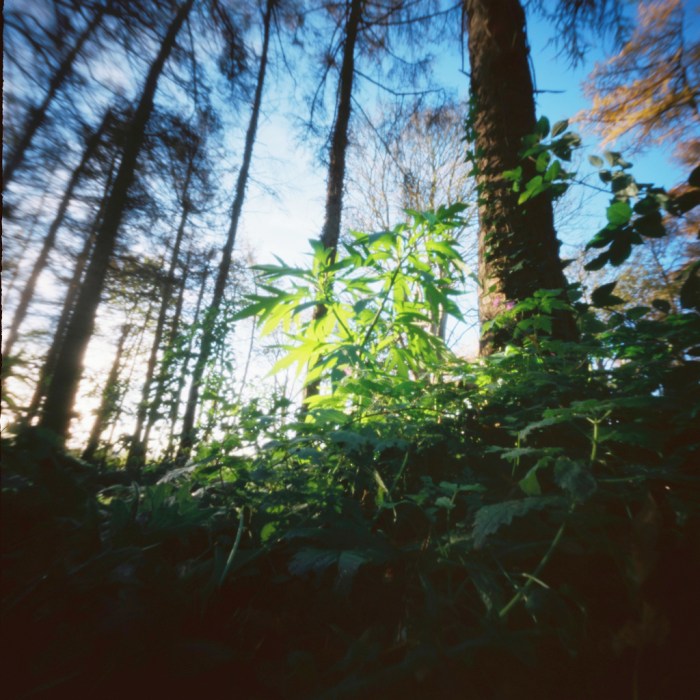
When I received the scans off my first roll I was delighted with the results. I really didn’t know what to expect, or had I succeeded in photographing anything at all! All the images here are shot using Kodak Ektar 100, 120 film. Of course, with the omission of any lens, the images from any pinhole camera will be softer, often with heavy vignetting – attributes which can produce ‘dream like’ or ‘painterly’ effects, with some practice.

I will definitely continue and hopefully improve my pinhole photography. I feel this is only the start of a journey for me. For instance, I hope to try different black and white films, in different formats. I also have ideas in mind for different subject matter. Instead of sending my film to a lab, I also plan to scan the developed negatives myself using my digital camera and light box – a process that I’m excited to try, and may write about in the future!